Purpose: This document provides step-by-step instructions for editing the details of a Redbird customer’s location on the Locator map.
Audience: This document is meant to be used by Redbird suppliers who need to edit the details of their customer location.
Assumptions: You have login credentials and your retail location was added to the Locator map when the simulator was installed. If your location is not already on the Locator map and you would like it to be, send an email to support@redbirdflight.com with your request.
Instructions:
Find Your Location
1. Navigate to the Redbird account login page at account.redbirdflight.com. The login screen appears.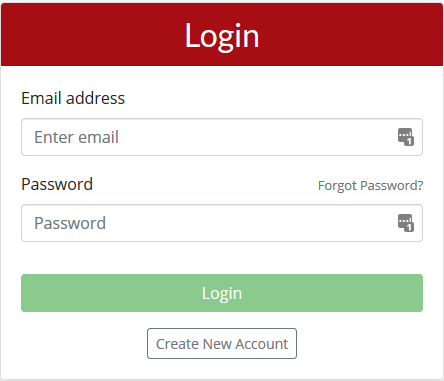
2. Enter your email address and password and click the Login button.
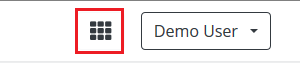
3. After you log in, click the menu icon in the upper right corner of the page.
4. The pop out menu appears. Click on Locator.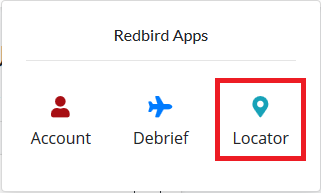
5. The Locator map appears.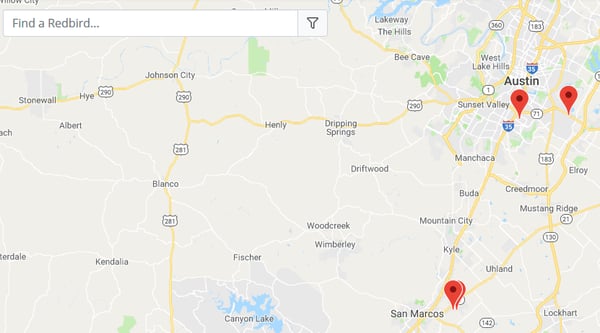
6. Navigate the map to find your location and click on it. The location information pop up appears.
7. Click the location information pop up. You're taken to the location information page.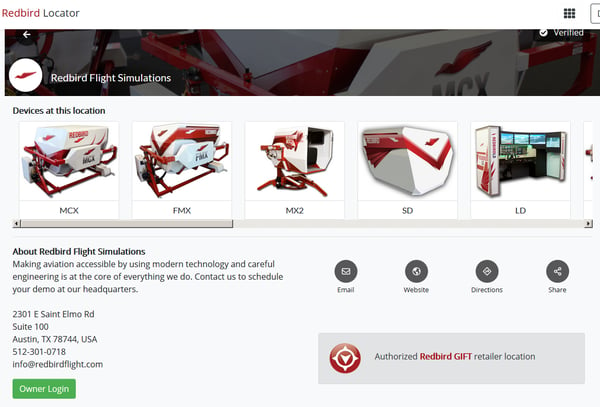
8. Click the Owner Login button in the lower left corner. The login page appears again.
9. Enter your email address and password again and click the Login button. The Editing page appears.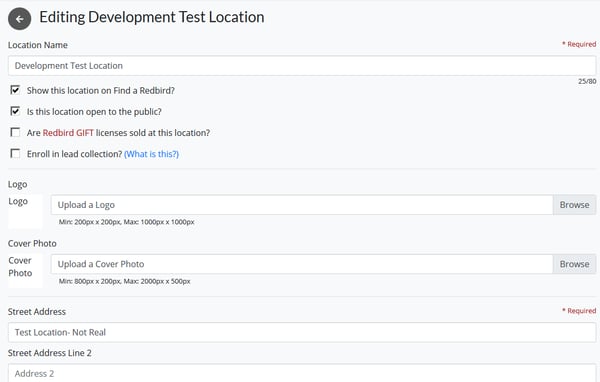
10. To change the name of your location, enter the new name in the Location Name text box. Use a descriptive name, such as the business’s name.
11. To show your location on the Redbird Locator map, select the checkbox Show this location on Find a Redbird?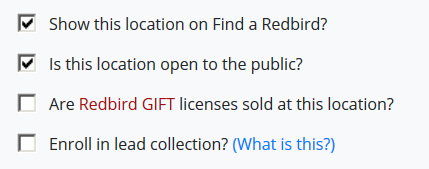
12. To make your location visible to the public, select the checkbox Is this location open to the public?
13. If Redbird GIFT licenses are available at your location, select the checkbox Are Redbird GIFT licenses sold at this location?
14. To add your logo to your page, start by clicking the Browse button to the right of the Logo field and navigate to your logo image on your computer. The logo image is the small circular image in the lower left corner of the cover photo.
|
NOTE: The logo image should be of type .gif or .png or .jpg. The minimum logo dimensions are 200 pixels by 200 pixels (W x H). The maximum logo dimensions are 1000 pixels by 1000 pixels. |
15. Once you locate your logo image on your computer, click the Open button. The logo is added.
16. To add a cover photo to your page, start by clicking the Browse button to the right of the Cover Photo field and navigate to your cover photo image on your computer. The cover image is the long, narrow banner-style image across the top of the page.
|
NOTE: The cover image should be of type .gif or .png or .jpg. The minimum cover image dimensions are 800 pixels by 200 pixels (W x H). The maximum cover image dimensions are 2000 pixels by 500 pixels. |
17. Once you locate your cover photo image on your computer, click the Open button. The image is added.
18. To change your address details, update the information in the following fields:
Street Address
Street Address Line 2
City
State/Province
Zip Code
Country
19. In the embedded Google map, drag the pin to the exact location of your customer location on the map.
20. To change your website URL, enter the new URL in the Website URL text box.
21. To change your public email address, enter the new email in the Public Email Address text box.
22. To change your public phone number, choose your country code from the Country code dropdown box and enter the new number in the text box in the xxx-xxx-xxxx format.
23. To update the description of your customer location, enter a description of between 20 and 300 characters in the Brief Description textbox.
24. In the Devices checkbox field, select the checkboxes of all the devices you have at your location.
25. When you've made all the edits to your location page that you want to make, click the Submit Changes button at the bottom of the page
|
NOTE: For technical support, contact the Redbird Technical Support Team using the Navigator support menu on your Internet-connected simulator, or via email at support@redbirdflight.com, or by calling +1 512-301-0718 between the hours of 7am-6pm U.S. Central Time (-5/-6 UTC) Monday - Friday, excluding normal U.S. holidays. |