1. Plug in your YK1 Yoke and launch X-Plane. Once you have plugged in the yoke and started the program, X-Plane should detect the new controller (YK1). If the controller detection wizard for X-Plane does not pop up automatically, then position the mouse at the top right-hand corner of your X-Plane mission and click on the settings icon.

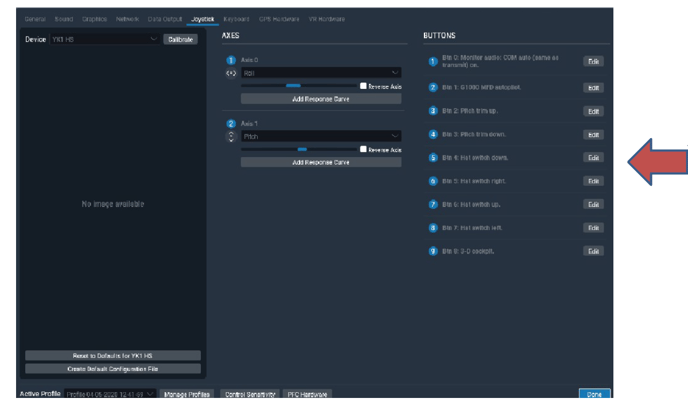
2. Next, in the device drop-down menu, choose YK1 HS.
3. For Axis 1 and 2, choose the corresponding movement that coincides with Roll and Pitch.
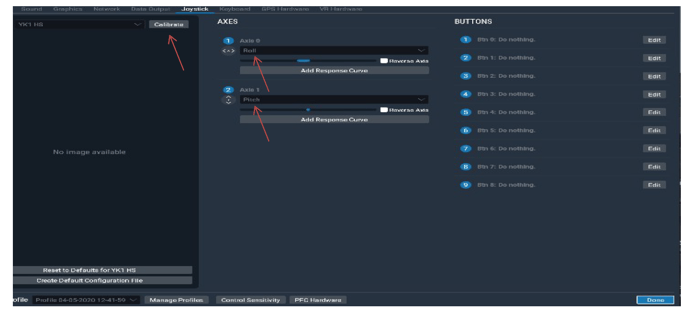
4. Now, you will need to map the buttons. You can map the buttons to any function you'd like. If you press a button on the controller, you'll see that the number corresponding to the button will light up on your screen.
5. If you click the Edit button next to any number, you can select from a dropdown list the function that you'd like to call when a given button or switch is pressed. Hint: at the top of the dropdown list you'll find a search bar that will make mapping the controls much easier. For example, if you type 'hat', you'll get all the hat switch functions.